Introduction to Chalk UI development
Chalk UI is a design and development system built for Webflow and Figma. It offers a complete solution to create and build enterprise quality projects from design in Figma through to development with Webflow. This article is designed to help you get started building with Webflow, and steps out the simple requirements before starting your project development.
👉 Browse Components
👉 Clone Starter Project
👉 Get Figma Version

1. Starter Project
Chalk is a system based project, and it is required that you follow these two basic steps to ensure the best experience during development.
👉 Clone Starter Project
👉 Install xSync for Webflow
Chalk is built with Client-First and with this starter project, all the basic Client-First classes have been provided. This will also serve as a central location to update styles across all components when you paste them into your project. If you're new to Client-First they offer detailed documentation and videos to help you get started building.

2. Chrome Extensions
Additionally, before you start development we recommend you install some Chrome extensions to power-up your workflow. Although these extensions are not required, we highly recommend them for ease of use and to simplify your process of adding components and the handling of duplicate classes.
👉 Flowbase Chrome Extension will allow you to access all of Chalks' components from directly inside your Webflow designer. It also comes with a suite of tools and features to improve your workflows.
👉 xSync Chrome Extension will monitor your projects and merge incoming classes to existing classes when a match is found. This is useful to reduce class duplication issues when pasting components from the library into your project, as if the class exists (eg. text-small) the component will automatically match your design.

3. Update Starter Project
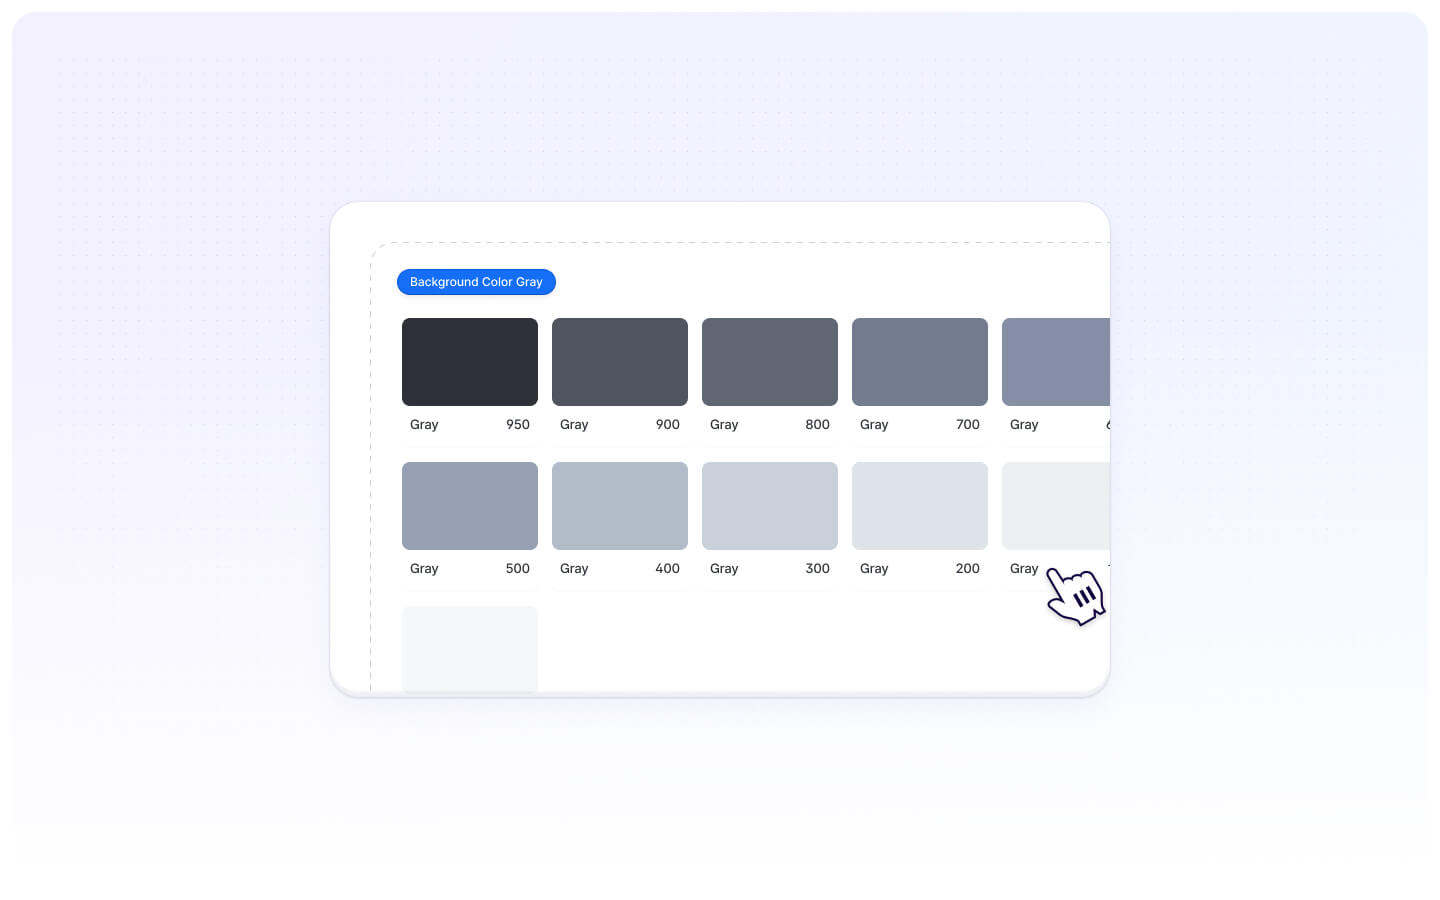
Before you start adding components, we recommend you establish your project foundations through the Style Guide on the Starter Project. Here you can adjust the colors, typography and font styles, padding variables and so much more.
You can always adjust these on-the-fly, but it is typically recommended that you explore the style guide and set up some core foundations for your project before you start adding components.
4. Browse & Paste Components
That's it, you're ready to start building. Simply browse the Chalk library and copy any component you want into your projects.
These components are designed to be customized, so get creative and start adjusting them for your own needs. New components will be added regularly so check back often.


